First off should mention that very little of this is my original idea. I got most of my info from these sites:
Digital Photography School
Instructables
Geeked
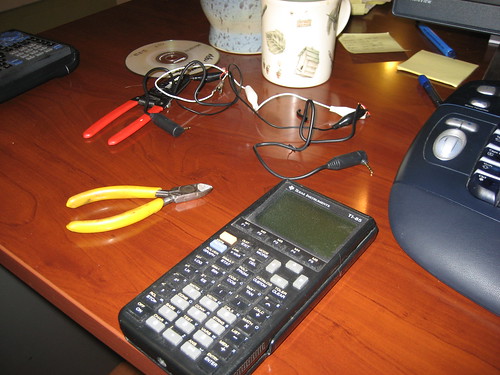
So, as it turns out, the output jack on a TI-85 and the remote trigger for my Digital Rebel are both 2.5mm stereo audio jacks. This is similar to a typical headphone jack but a bit smaller. To trigger the camera to take a picture you simply need to pass some voltage though this and snap! Conveniently, you can write a simple program in the calculator to do just that.
So first thing was to find, dust off and replace the batteries in my old TI-85.
Next, I had to write some code. This was the first hurdle. Most sites say to use a Send() command but the TI-85 does not have that function. After a little poking on the internet I found that you can use an Outpt("CBLSEND", var) command instead. Here is the code I used
: Prompt A
: While 1
: For (H,1,A,1)
: End
: Outpt("CBLSEND", A)
: Disp A
: End
What this simple code does is prompt for a value for A and then sends a signal down the cable at a steady interval, based on A. I am not sure but I think A is the number of program loops to do before sending a signal. Whatever it is, setting A to 100 gives you about one signal a second.
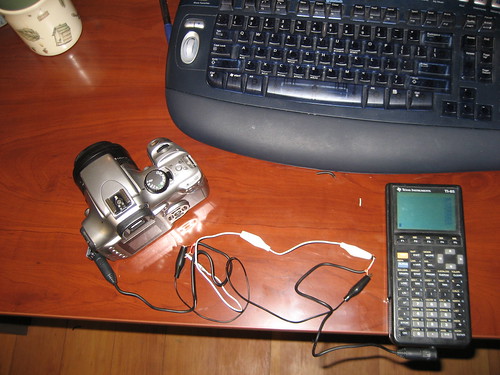
Next it was time to hold your breath and make the connection. I plugged the cable into both devices and let 'er rip, praying for no smoke from the camera. Fortunately, there was no smoke but there was no shutter action either. I busted out my trusty meeter and verified that 3 volts was pulsing through the cable but the camera wouldn't take a picture. After a little more poking on the web, I discovered that the signal needed to be coming out of the the other part of the jack (the tip) to trigger the shutter. The upper part of the jack simply triggers the focus. So I whipped out my wire cutters and alligator clips and fixed that right quick.

After plugging it all back in together and hitting a few button the camera began to magically take pictures!
Well by now I was really pumped to put this baby to work. The recent snow was melting off pretty quick so we decided to hop on the bikes and roll over to the 10 minute boulder for a tennis shoe session. It is called the 10 minute boulder because it takes about 10 minute to get there on a bike.
Rolling up we were disappointed to find the left side guarded by a huge puddle. There was brief discussion to roll on to a new area but the call of the stone was too great.
I set the camera on a tripod and taped the calculator on. We figured that we would probably boulder for about 20 minutes. Knowing that in the end we wanted a video frame rate of 15 pics per second we settled on setting everything up to take a pic every 2 seconds. It is important to set everything on the camera to manual and turn off the preview setting. I also lowered the resolution to the small setting so it would write to the card faster. After a few test shots we were off!
During the session we took about 750 pics. Back at the house I decided I wanted to enhance the pics so I set up a batch session in Photoshop that automatically resized and applied a few things to all the pics. Then I found a free software called JPGVideo to take the pics and turn them into a video. Super easy to use. You just point it at the folder that has all the pics and hit the Go button. 10 minutes later you have a video. To make it nice I added some titles and music in Camtasia.
